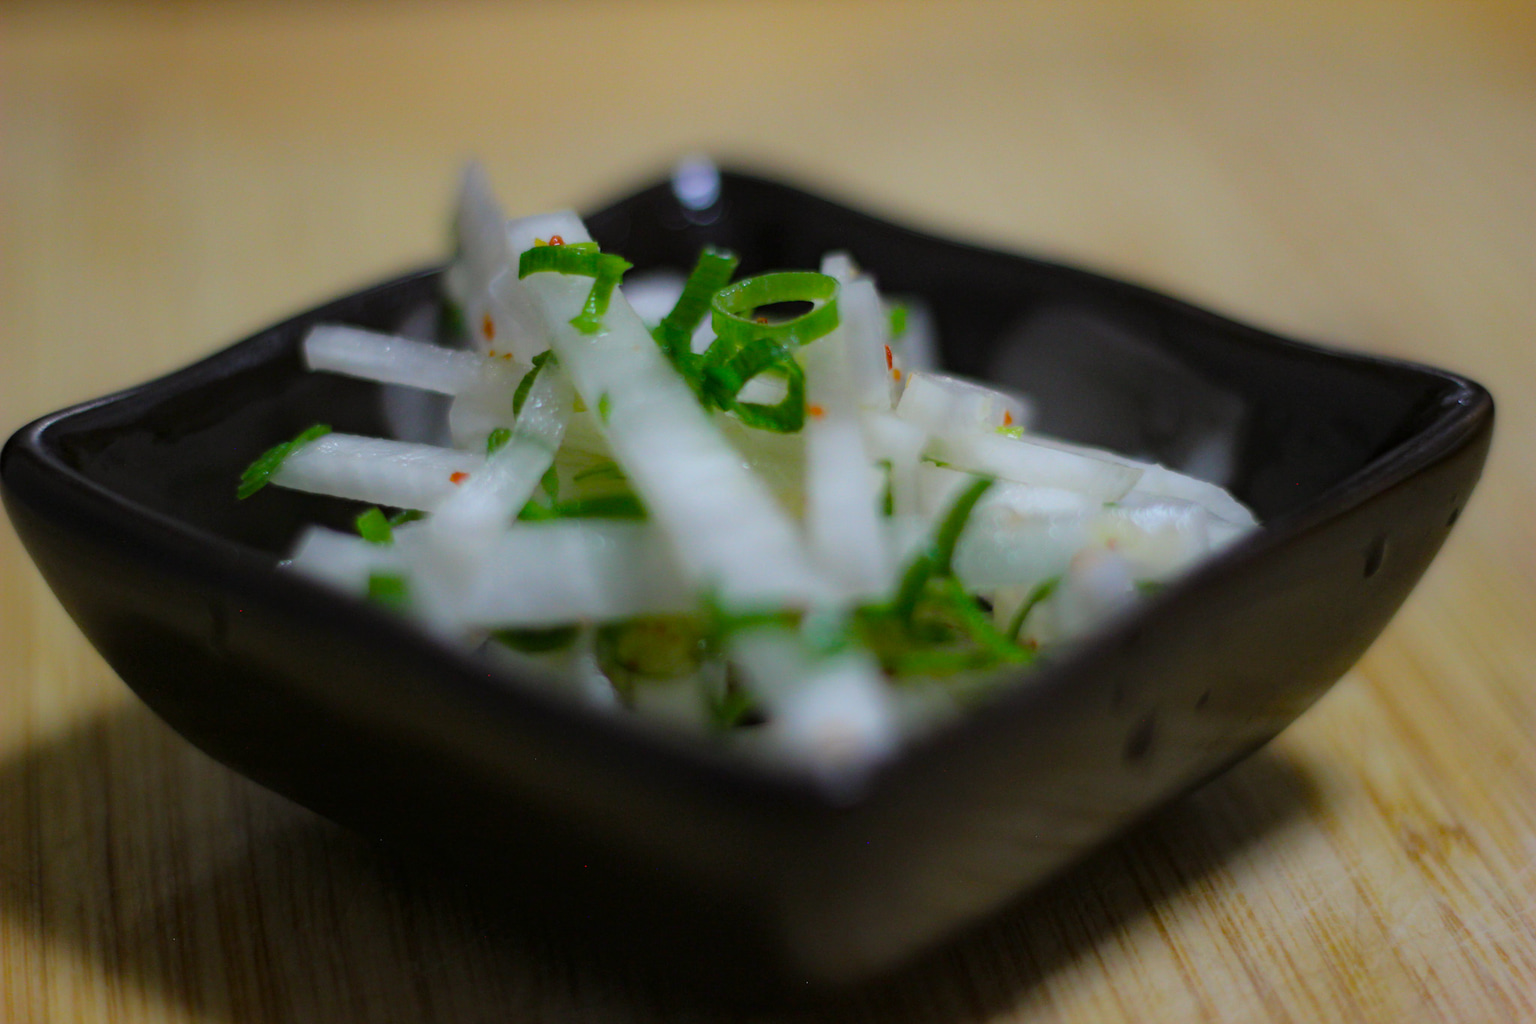
A cornerstone of Japanese cuisine, daikon, or Japanese radish, is a versatile root vegetable. With the ability to be boiled, steamed, fried or even grated into a fine paste, you are spoiled for choice when it comes to this staple. As there are many different ways to prepare daikon it would be a shame not to highlight a few different methods, as each preparation gives daikon an entirely different taste.
Grilled Fish and Grated Daikon
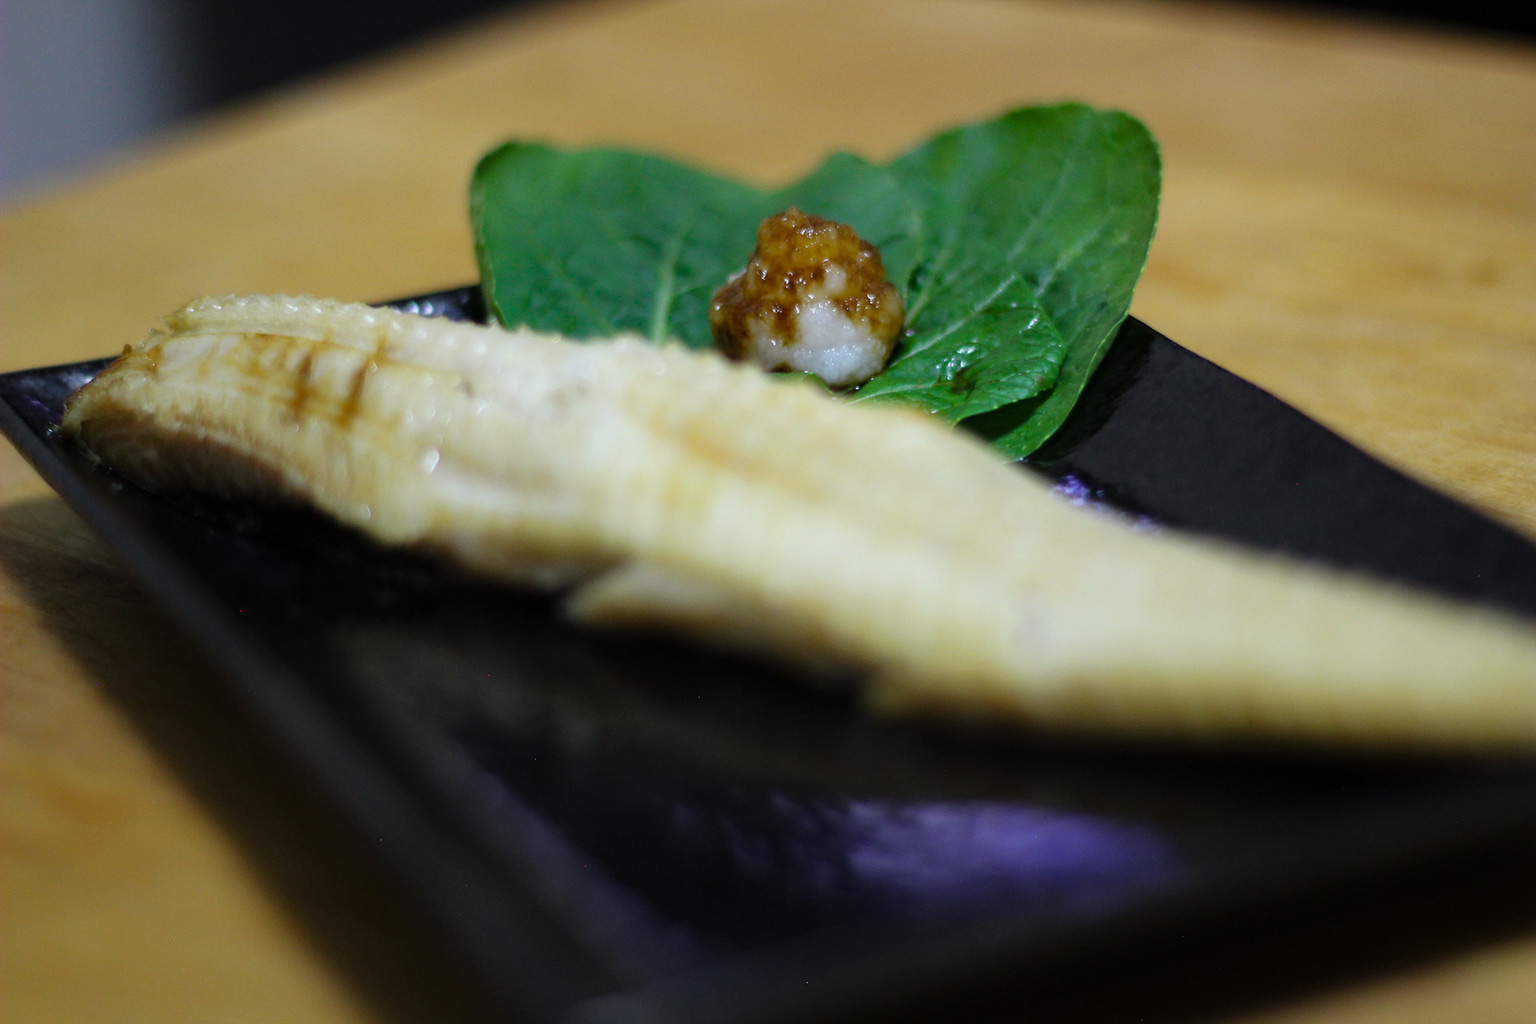
Sometimes, simple is best. This combination of grated daikon and grilled fish is as simple as it is delicious. For this recipe you’ll only need:
- Fish (mackerel is recommended)
- Daikon
- Soy sauce
- Salt
Preheat your oven to 180 degrees Celsius and prepare a foil-lined baking tray for your chosen fish (oil the foil first to keep from sticking). Place the cleaned and deboned fish skin-side down onto the lined baking tray and sprinkle with salt. Leave the fish in the 180-degree oven for 15 minutes or until golden brown.
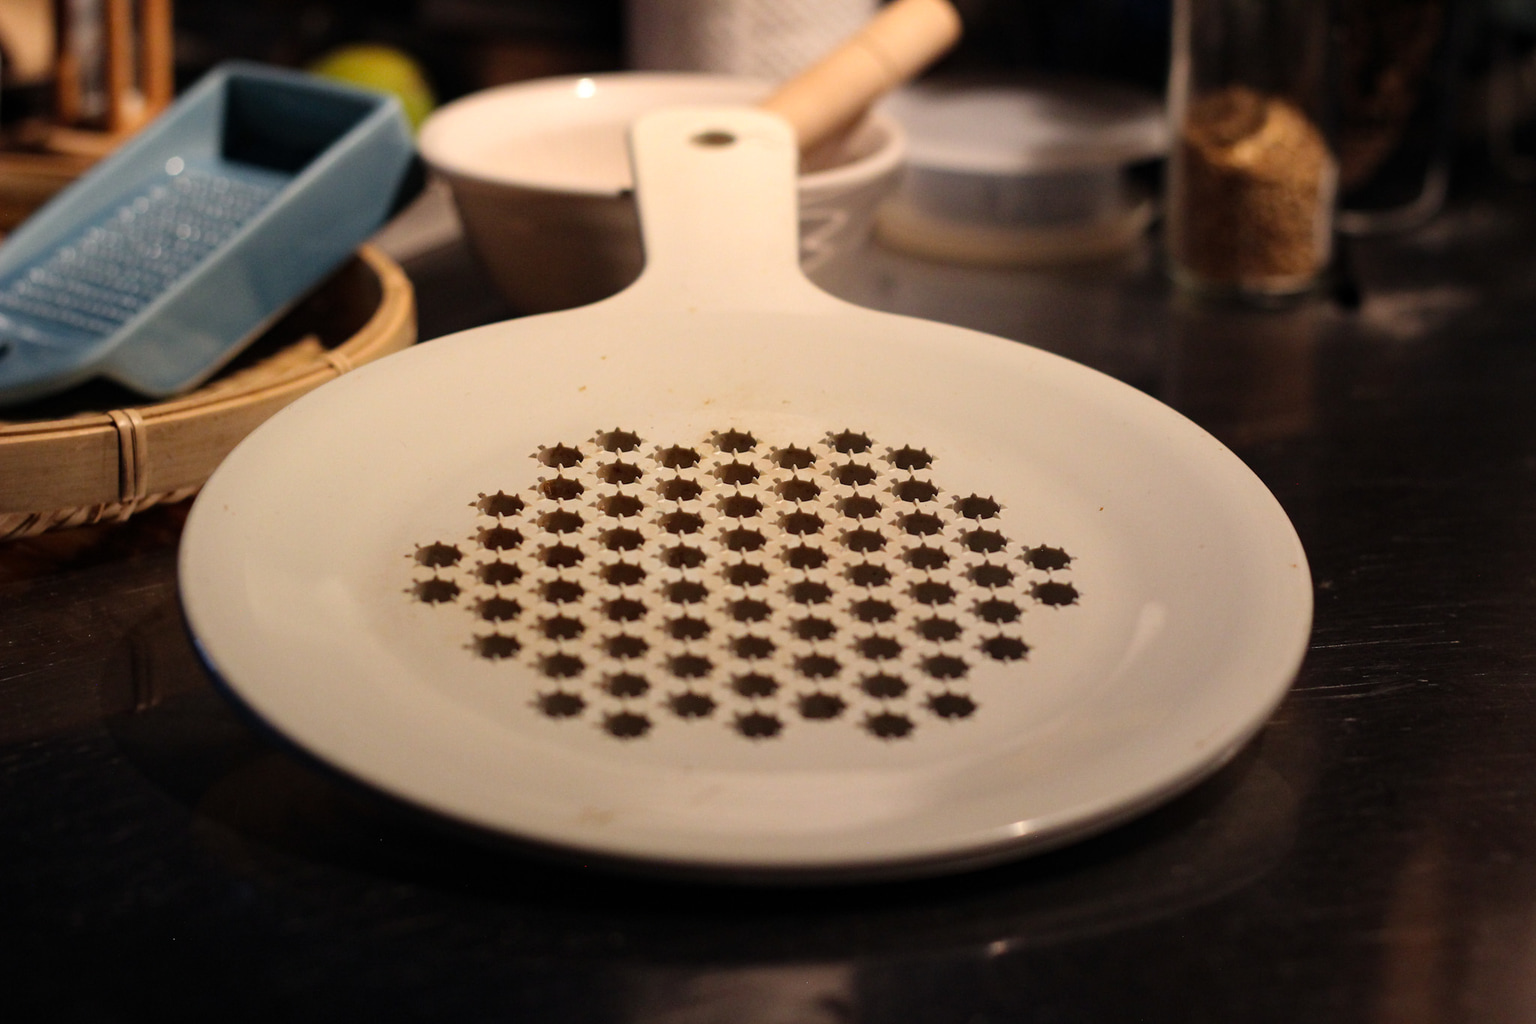
Making oroshi daikon is a slightly time-consuming process and requires a special type of grater (shown above). However, if you lack the time or inclination to grate your own, store-bought is just as good. Once the fish is golden brown serve with the grated daikon, a little soy sauce and freshly steamed rice.
Hint: Salmon also pairs well with daikon. Substitute the soy sauce for a slice of lemon and you have another winning combination to be served with a little freshly steamed rice.
Tamagoyaki Daikon
The tamagoyaki is a square Japanese-style omelet flavored with dashi and mirin. This fluffy omelet is a staple in any bento box and can be customized in many interesting ways. The omelet is also a Japanese izakaya staple and is often found paired with grated daikon. For those who like the slightly spicy taste of freshly grated daikon, it goes a great with these fluffy square eggs.
Creating tamagoyaki is simple enough only requiring:
- Two or three eggs
- 1 Tbsp soy sauce
- 1 tsp dashi
- 1 Tbsp mirin
- Patience
- Spring onion (optional/ interchangeable)
In a bowl whisk together 2-3 eggs, soy sauce, dashi and the mirin until the ingredients are combined. Once combined you can add garlic, ginger, spring onions or anything else you wish to add to customize your tamagoyaki. In this recipe, spring onions were added but try a few different types to see which you like the best.
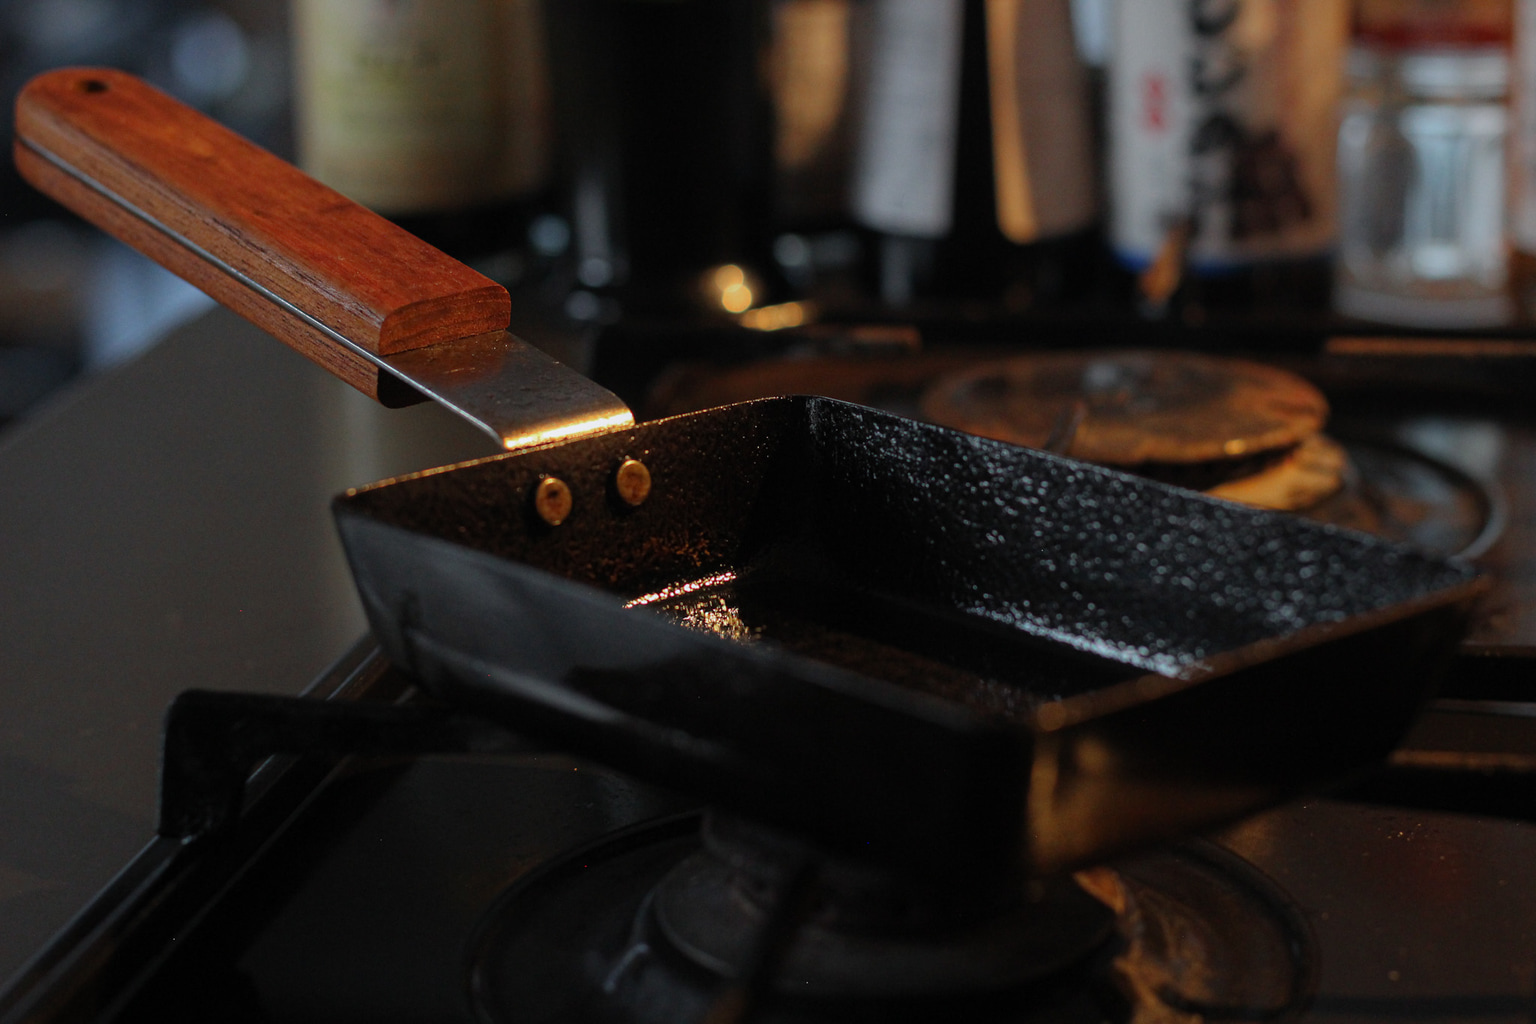
Pour a thin layer of the egg mixture onto a tamagoyaki pan and allow it to cook until the egg touching the pan is solid while the rest is still loose. Roll the egg into a rectangular shape at either end of the pan and continue again with another layer of egg mixture, being careful of the heat and the shape (but the tamagoyaki pan should take care of that).
Hint: This is a dish for the chef with patience. While blasting may result in a quick tamagoyaki, the end result will be a tough omelet with very little bounce. For a perfect, fluffy, omelets, keep the heat low to medium and take your time.
Chicken and Daikon Stew
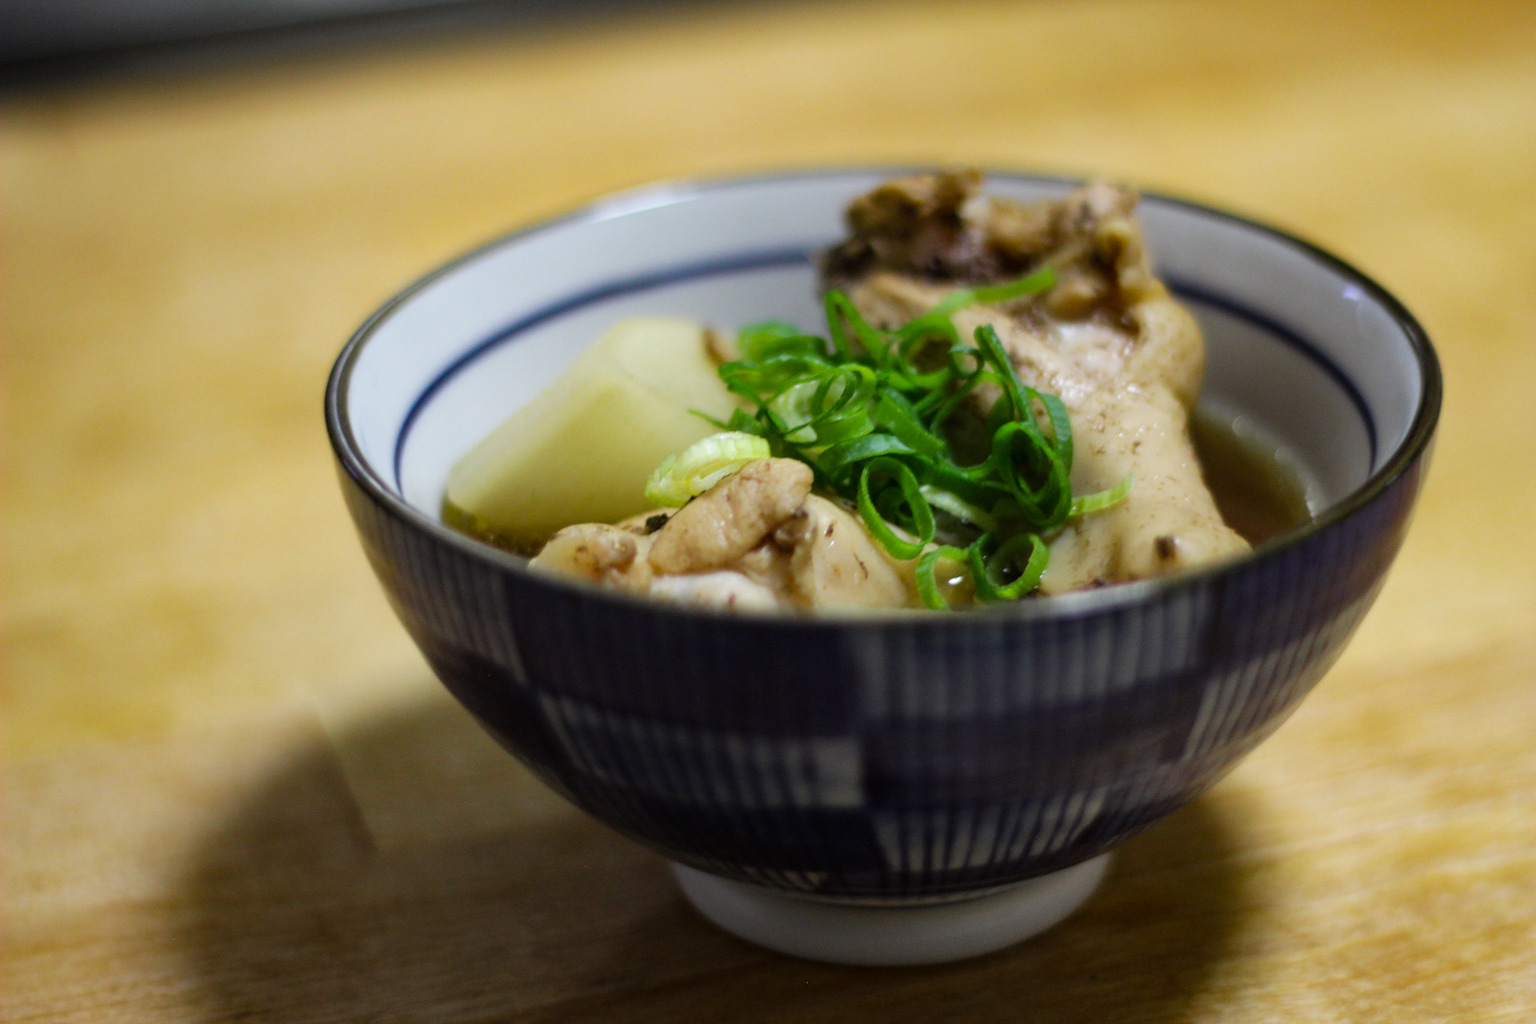
Less of a stew and more of a delicious broth filled with soft daikon and tender chicken, this recipe’s broth is a little difficult to get right but it’s endlessly customizable.
- Chicken wings – 8 to 10 wings
- 4 Tbsp soy sauce
- 2 Tbsp mirin
- 1 Tbsp sake
- 1 tsp sugar
- 650ml water
- 2 Tbsp dashi
- 300g daikon
One of the most delicious ways to eat daikon, this chicken daikon stew is a slow-cooked wonder. Prepping your ingredients first is essential for this process to go smoothly. Start by peeling and slicing 300g of daikon into manageable semicircles.
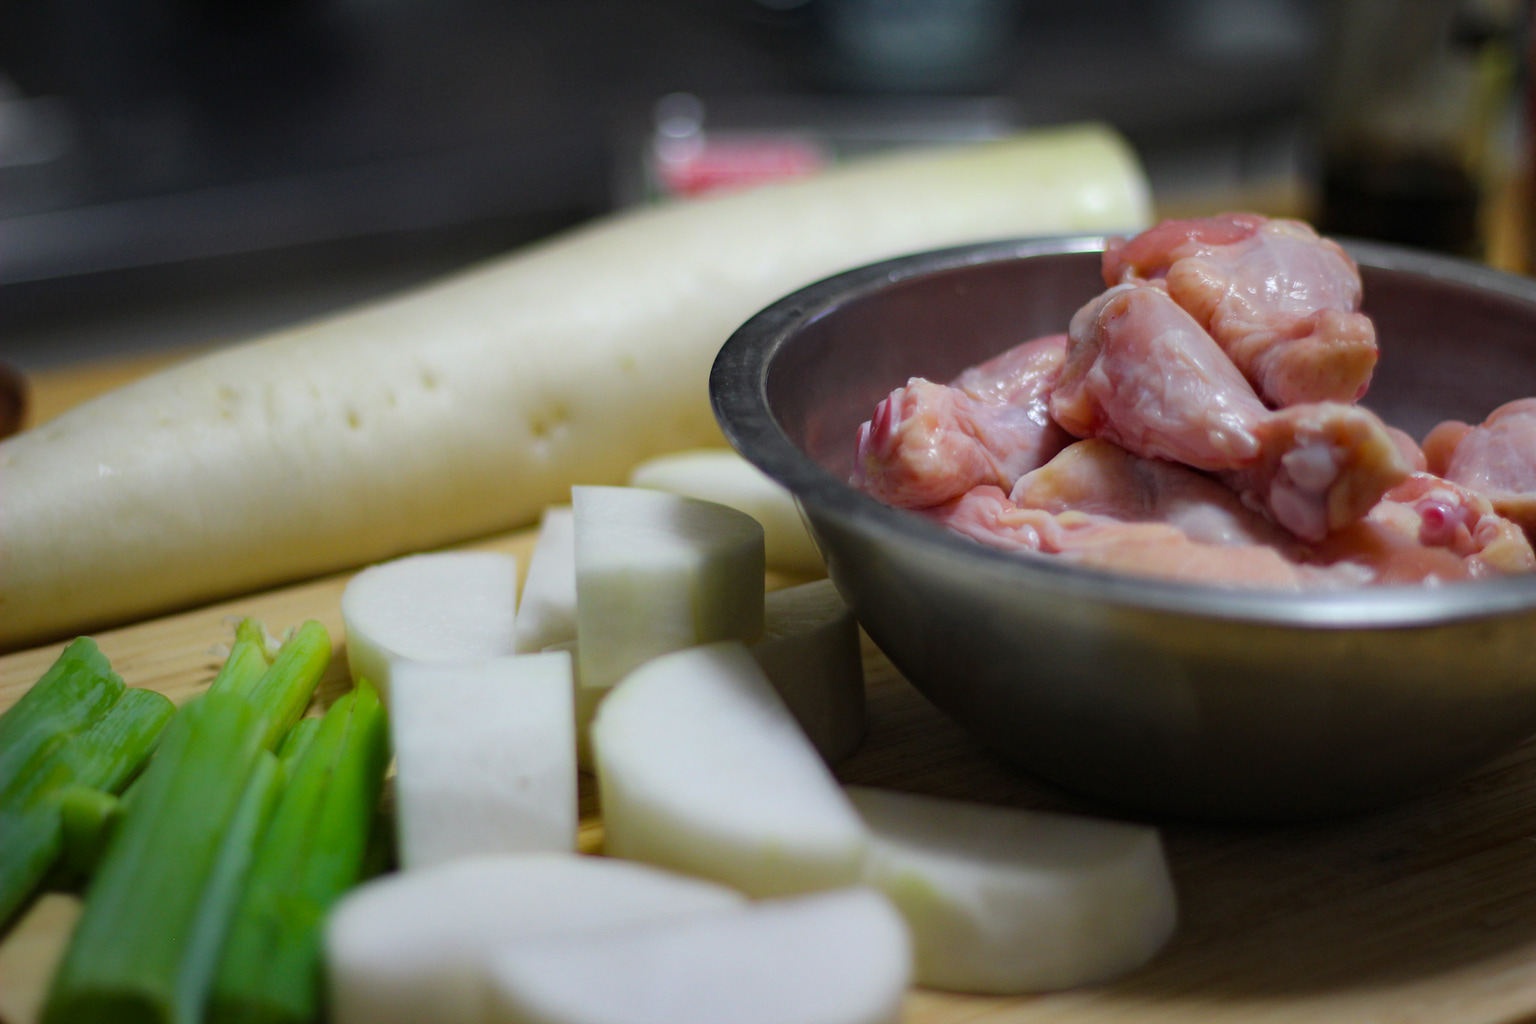
Then in a large pot pour around 650ml of water and place it on medium heat. Add mirin, soy sauce, sugar, cooking sake and dashi to the water as it’s heating up, continuing to stir slowly all the while. Once the ingredients are combined and the broth is a dark golden color, add the daikon to the broth and cover with the pot lid before allowing to continue to heat up for a few minutes.
After the broth starts to steam, add the chicken wings into the pot and stir until the chicken and daikon are submerged. Cover with the pot lid and allow for the stew to simmer on a low heat for 20-35 minutes or until the daikon is sliceable.
Hint: Spring onion, ginger or other aromatic vegetables can also be added to the broth to change the flavor. While spring onion was added to mine for a little extra flavor the broth was perfectly fine without it.
Bonus Hint: Don’t allow the mixture to boil, keep the broth hot and steamy while paying attention to and removing any scum which may float to the top. This will result in a clear broth.
Daikon Fries
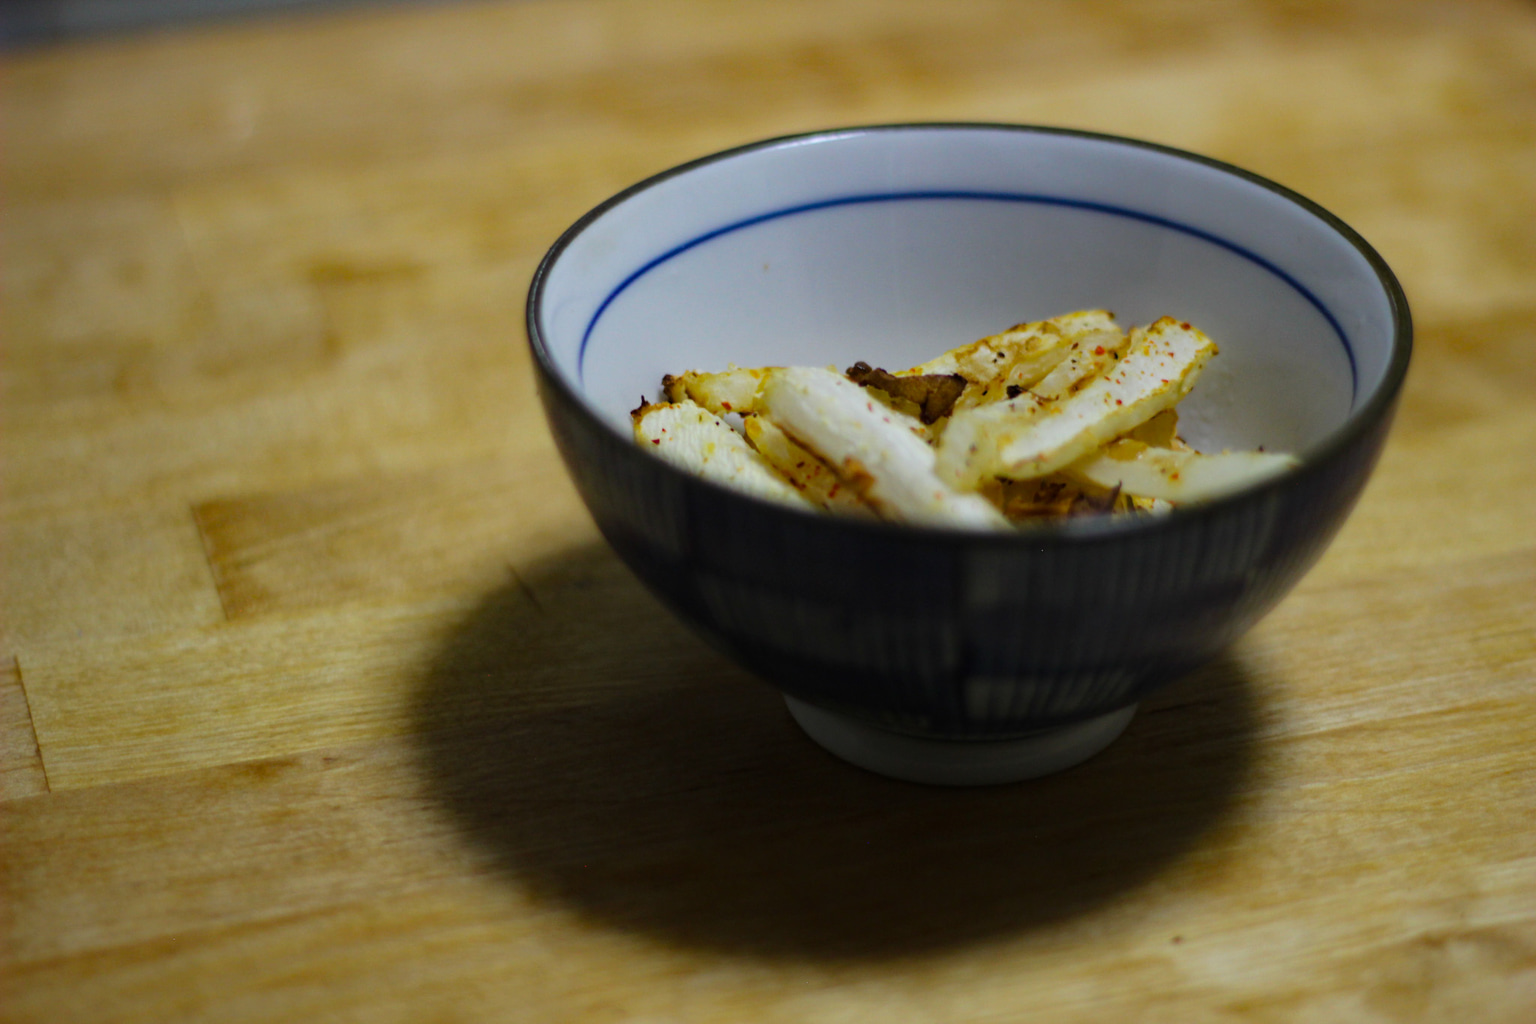
For the health-conscious chef, daikon fries provide a healthy alternative to their potato-y counterpart. Although called “fries,” these are quite different from other fried vegetables.
- Daikon
- Chili flakes
- Sprinkle of ginger
- 2 cloves of garlic
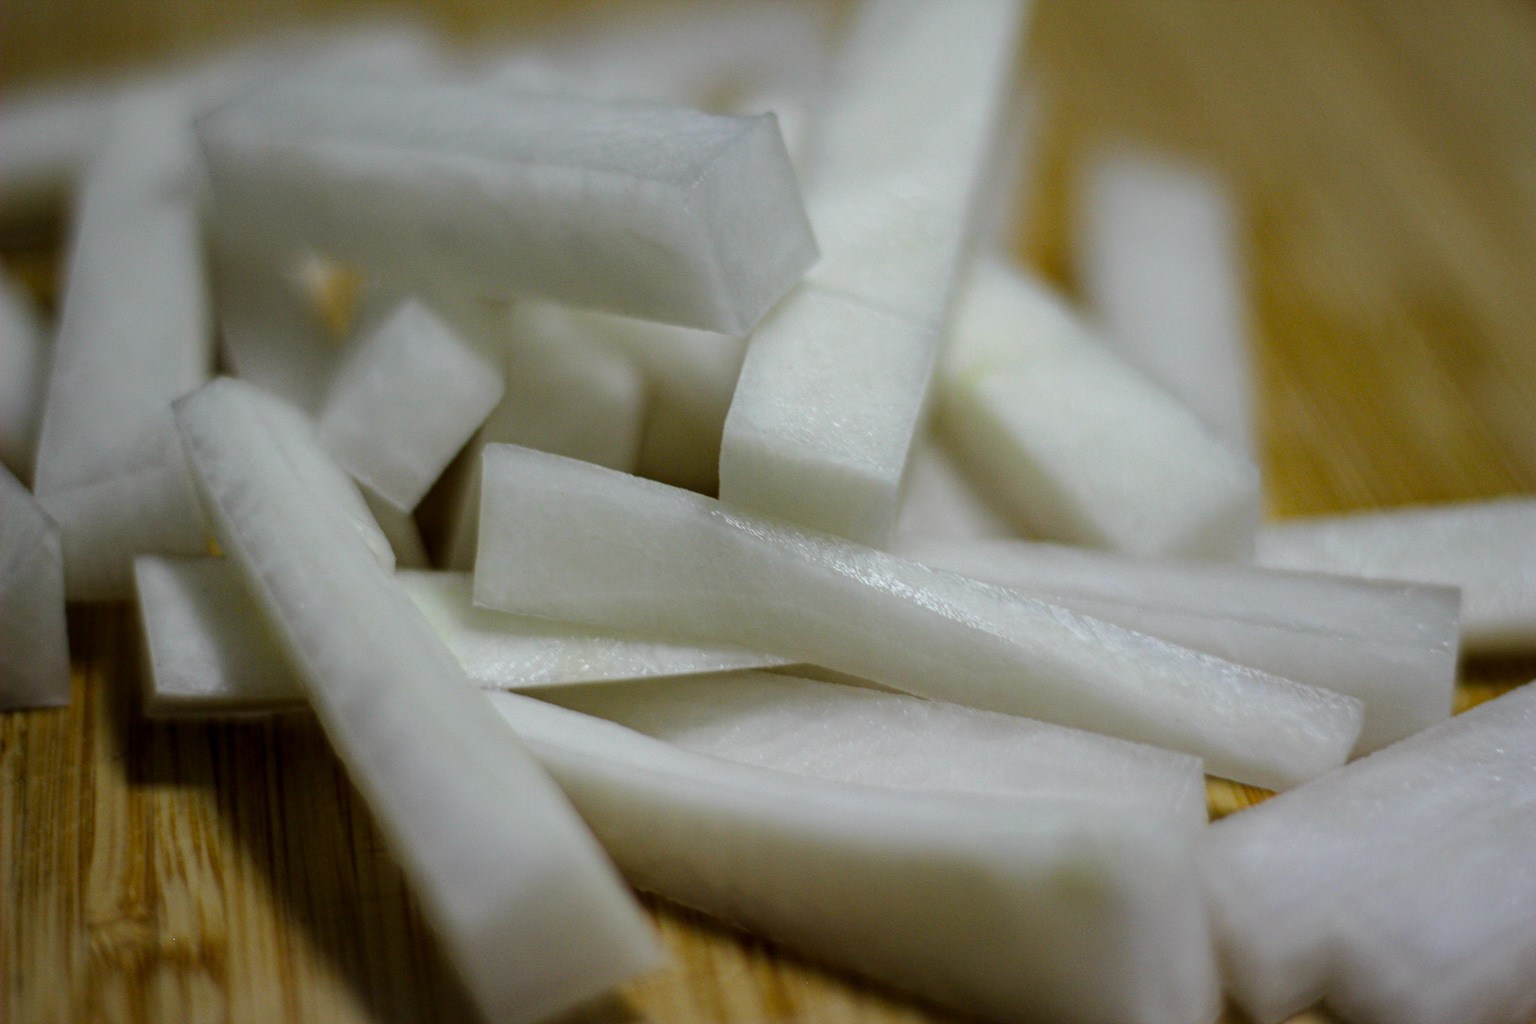
Peel and slice your daikon into thin french fry-shaped pieces and place them into a bowl ready to be seasoned. Slicing the daikon into thicker pieces will result in a fry with a little more bite to them, but for those wanting an authentic french fry feeling, thinner sliced daikon is recommended.
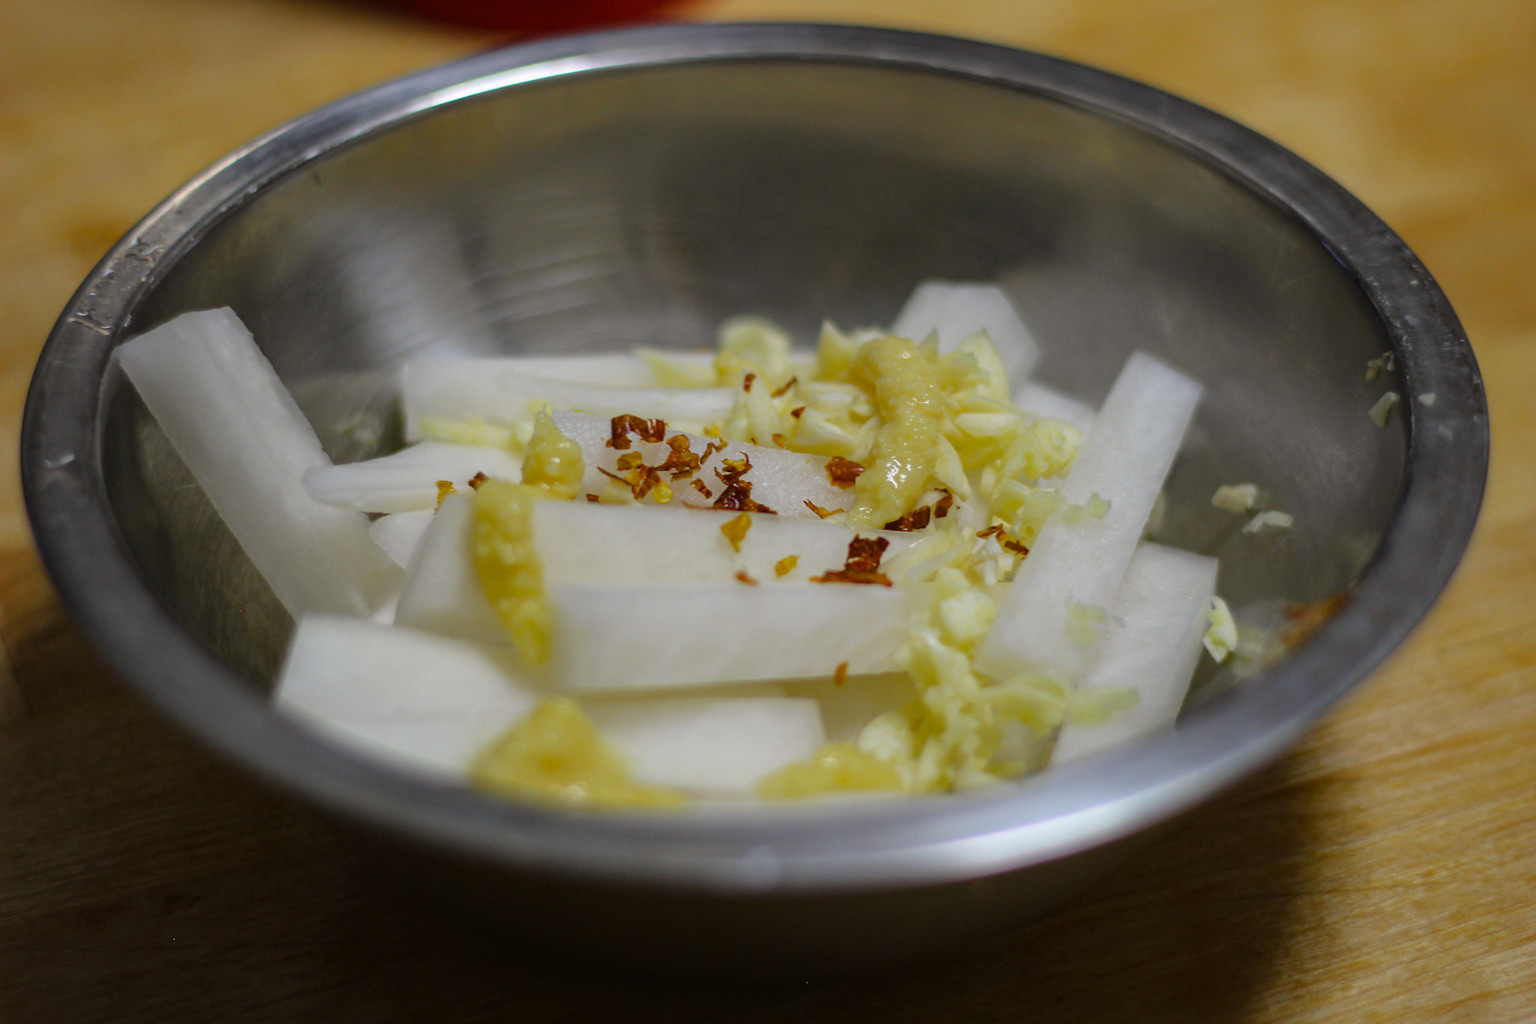
Add sliced ginger, crushed garlic and a little sliced chili or chili flakes into the bowl (the chilly is optional for those who want a little extra heat). Add a drizzle of olive oil, or any oil you might have on hand, and mix well. Cover the mixture for a few minutes to let the flavors blend before placing them into a 180-degree oven until golden brown.
Hint: A thicker sliced daikon will create a juicier daikon fry while a thinner one will create one with more crunch. For first-timers to this dish, try cutting daikon into a few different thicknesses in order to work out which texture best suits you.
Daikon Salad
- Spring onion
- Vinegar
- Finely sliced daikon
- Chili flakes
- Crushed garlic
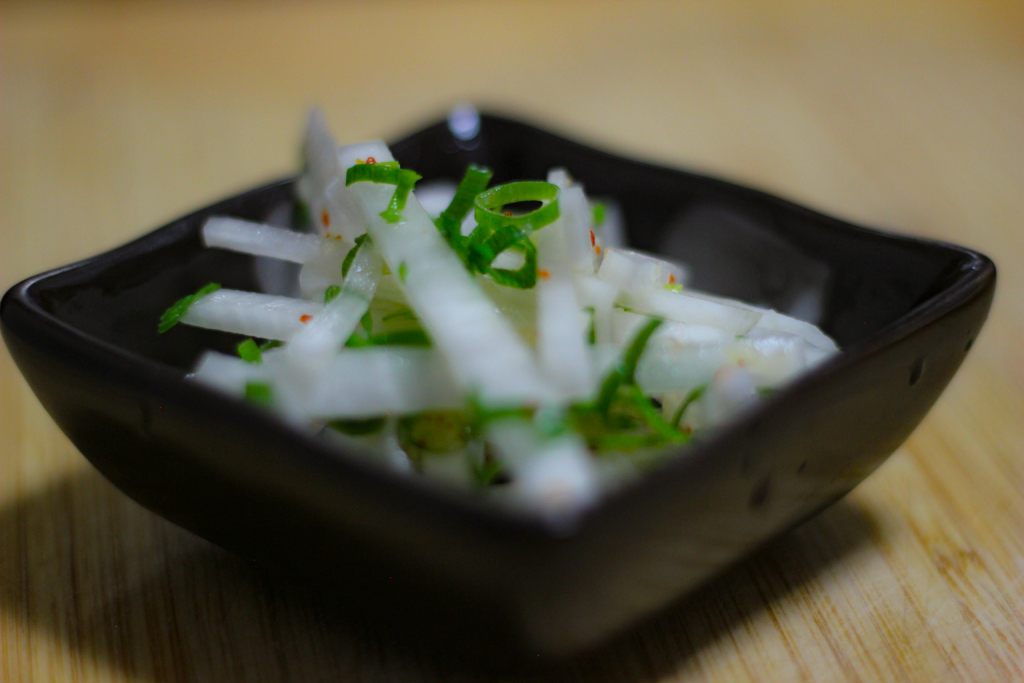
The simplest dish on the list, this classic daikon salad has been influenced by Korean cooking styles to create a dish that only gets more delicious over time. Slice the daikon into small thin slices and place into a bowl. Add crushed or sliced garlic into the bowl with a splash of vinegar, chili flakes and spring onion.
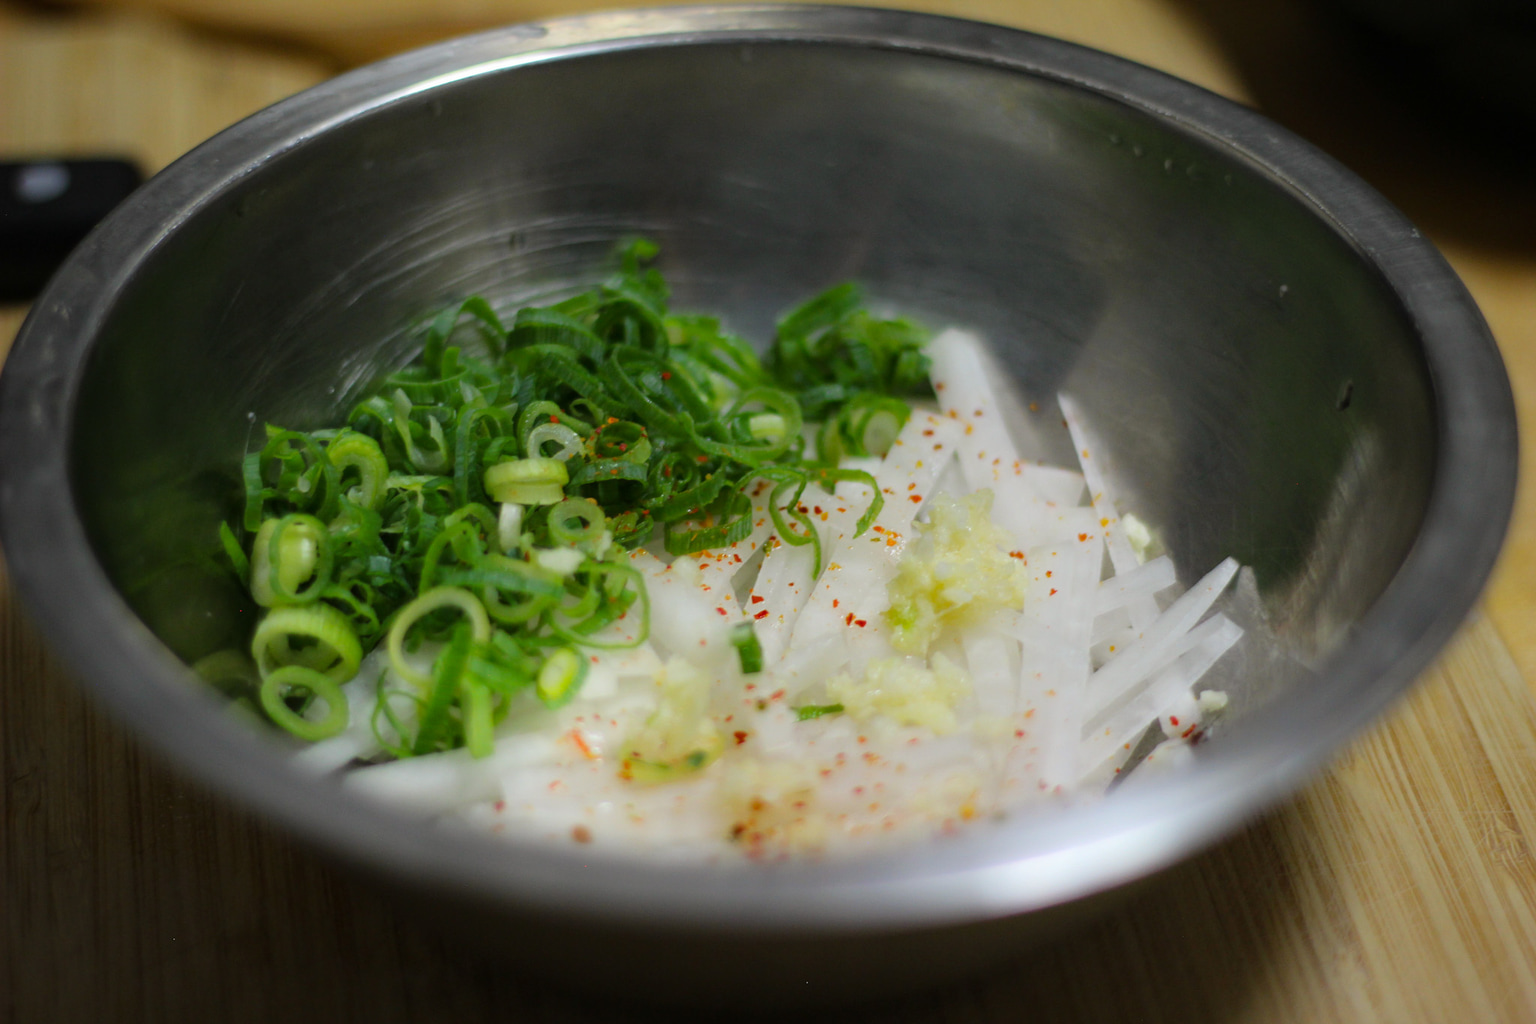
Give the mixture a good stir to combine the flavors and then taste for seasoning. If the salad is perhaps too sharp or spicy add a little more sliced daikon to the mix. If perhaps too bland another sprinkle of vinegar or a sprinkle of salt will go far. The salad can sit in the fridge for up to a week and makes for a great side dish for a bento.
Updated On January 7, 2021

